As a large format phtographer I am obsessed with image quality. Smooth texture and fine detail are important to me for the images that I make. However I don't always want to take my 4x5 with me. Sometimes I want the freedom to explore and play with images without being concerned over ultimate image quality. For these occaisions I typically take my Contax RTS II 35mm along. I think of using this camera like a sketch book. One of the aspects of sketching is having immediate feedback while working on ideas. Even though my Contax provides a great deal of flexibility when shooting it is still a film camera and so I have the same back end procedures to perform before getting to play with the image. The film needs to be processed and scanned before I can work on the image in Photoshop.
Although the image quality is inferior to the Contax I sometimes take my little Canon S400 digital camera. It's very light and nimble and I can import the images directly into my PC. Sometimes, however, one of my sketches has enough merit that I wish I had taken it with a camera that ultimately provided more image quality.
I also use the S400 for shooting panoramas. When stitching together a number of digital images into a single panorama the final image is fairly large and the quality is reasonable for typical dispaly sizes. So why not extend the concept of stiching images. Instead of stitching images to encompass more viewing angle why not stitch images to provide more resolution for a give viewing angle? While I did have this idea independently I am certainly not the first one to think of it. During my research I found that many people use this technique to create very high resolution digital images. See Max Lyons work for some truely amazing ultra high resloution images.
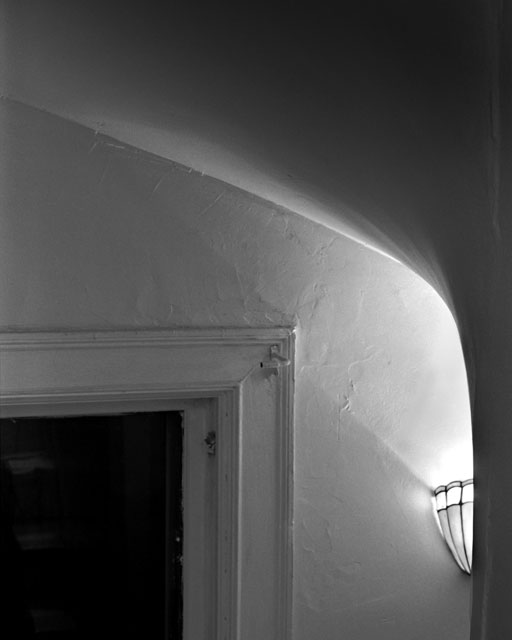
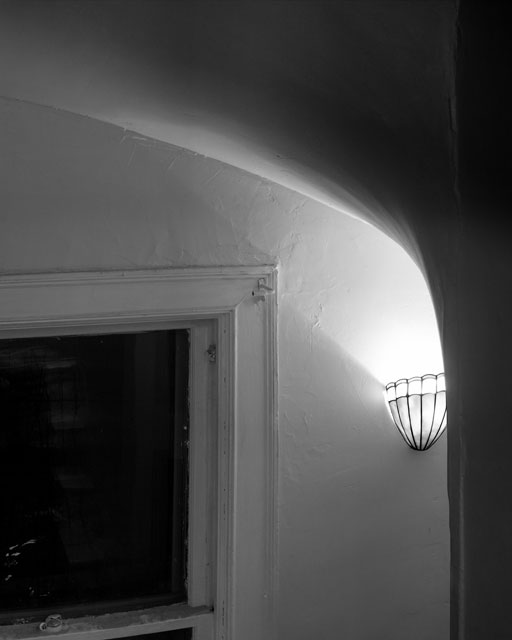
To put the idea to the test I decided to duplicate one of my "sketches" done with the Contax. The image is of a spot in my house that I have always found interesting. I had recently thrown the RTS onto a tripod and made a quick exposure. Several days later I had finished the roll and processed it.
|
After scanning and a little bit of time in Photoshop and I had an image that I was pleased with and would have liked to been able to print larger than 8x10 but the graininess and lack of fine detail really kept the image to 8x10 max. So now that I have a composition that I like I need to go back and reshoot it with the 4x5.
To recreate the image I put the S400 onto my panohead (see Building a Panohead) and placed the tripod in roughly the same location. I zoomed the camera out to it's widest angle. On the S400 this is the equivalent of a 35mm lens on a 35mm camera. I framed the scene to approximate the Contax image. Then I zoomed the lens in to full 105mm (35mm equivalent.) I then tilted the camera upwards 15 degrees and rotated it to the left 12 degrees. Shot the first frame. Rotated 12 degrees right and shot the next frame. Rotated another 12 degrees right and shot the third frame. that completed the top row of my 9 frame image. I then rotated the camera down to level and shot the next row. The final row was shot with the camera rotated 15 degrees down from level. The amount of rotation was determined so that there would be about a 15% to 20% overlap in the frames. This is important for the stitching software.
 |
 |
 |
 |
 |
 |
 |
 |
 |
Once I had the 9 frames of the image I needed to combine them into a single image. I have used a few different applications for stitching but I have found the easiest to use is Autopano. This application does not require you to manually tag alignment points but rather incorporates a sophisticated algorithm that can match the images up for you with no intervention. And it does a fantastic job. I imported the images to my PC and opened the folder in Autopano which analyzed them and then automatically built stitched final image. The resulting digital image is 6315 x 4643 pixels. Wow. That's a big jump from the 2272 x 1714 of a single frame.
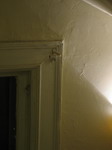
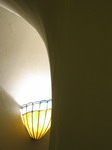
I now have a raw image ready for Photoshop. From this point forward the process is identical whether the image is from a scanned 35mm negative or a stitched digital image. I edited the image to look as close to the Contax image as I could. The big difference is the increase in definition over the 35mm and the lack of grain. The final image is also larger than the 35mm scan (2700 dpi from ScanWit.) The increased image fidelity combined with the larger image size should result in a larger final print size. The 6315 x 4643 pixel image would print to 26 inches x 19 inches on my Epson 1280 at 240dpi. Below is a crop at full resolution from both images.
As you can see from the picture above the stitched digital image has superior fedielity. It is sharper, has more detail and less grain. I'm sure that a better 35mm film scanner would have produced a better image but I don't know if it would be superior to the stitched digital. But the point of this article is about getting more from the digital camera that you already have and not about film vs digital.
 |
The Canon S400 is a point and shoot digital with very little control. Using this technique with a superior prosumer or professional grade digital camera should result in images that are truely wonderful. The scene chosen for this test was probably not a fair one because it has a very high subject brightness range. Autopano has the ability to create High Dynamic Range (HDR) files but I did not use that capability for this test. The HDR feature basically lets you shoot the same scene with multiple exposures to capture the highlights and shadows and then combine them into a single image with increased tonal range. Something that I do frequently with film but is much more involved when done manually. Autopano implements this automatically.
Contax RTS II 35mm camera with 50mm 1.7 lens
Ilford Delta 100 film
Acer ScanWit 35mm film scanner 2700 dpi
Canon S400 digital camera
Autopano Pro panorama stitching software - www.autopano.net
Adobe Photoshop CS2 image editor - www.adobe.com
Return to Articles List
